Performing Post-Expansion Operations for a Windows Disk
After the capacity expansion of the DESS disk is successful, allocate the partition for the extended space of the DESS disk in the BMS OS.
Prerequisites
- You have logged in to the BMS. For details, see section "Logging In to a Windows BMS" in Bare Metal Server User Guide.
- You have attached the EVS disk to the BMS and the additional disk space remains to be allocated.
Context
The OS used in the following example is Windows Server 2008 R2 Enterprise. The following example is for reference only. For the detailed operations, see the corresponding OS documents.
After the disk capacity is successfully expanded, the subsequent steps including how the disk will be partitioned and on which directory the partition will be mounted are depended on your environment. This section only provides an example.
Procedure
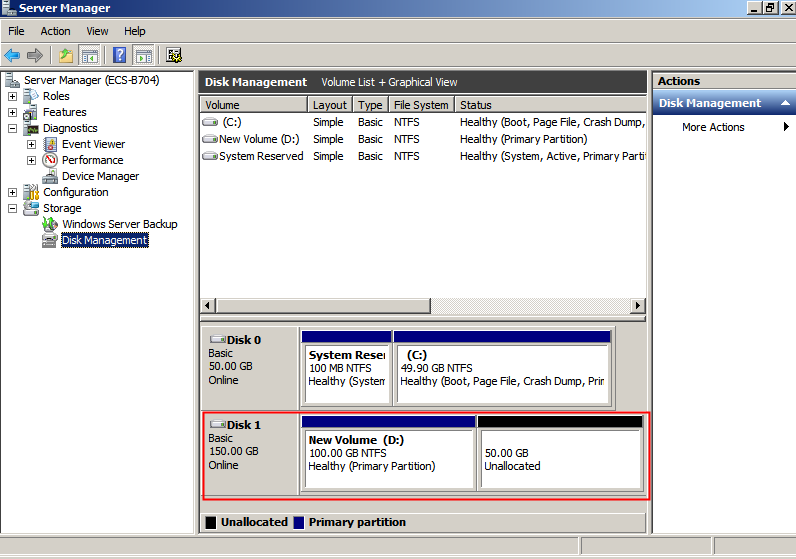
- On the desktop of the BMS OS, right-click Computer and choose Manage from the shortcut menu.
The Server Manager window is displayed.
- On the navigation pane on the left, choose Storage > Disk Management.
The Disk Management window is displayed.
- On the Disk Management page, select the disk and partition that needs to be extended. The current partition size and unallocated disk space are displayed.

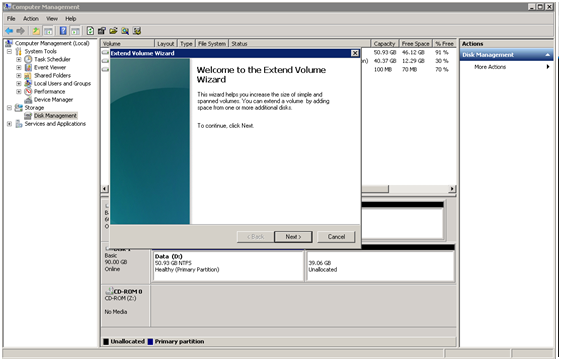
- Right-click the selected disk and choose Extend Volume.

- On the displayed Extend Volume Wizard page, click Next.

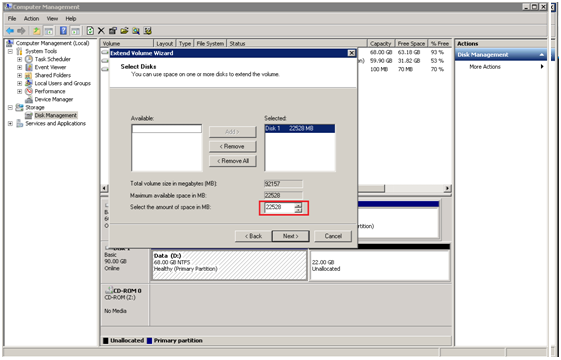
- In the text box to the right of Select the amount of space in MB (E), enter the extended capacity and click Next.

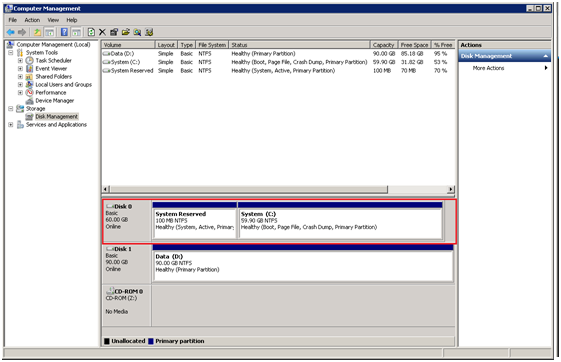
- Click Finish to complete the wizard.
After the expansion is successful, the disk capacity is increased.

Feedback
Was this page helpful?
Provide feedbackThank you very much for your feedback. We will continue working to improve the documentation.See the reply and handling status in My Cloud VOC.
For any further questions, feel free to contact us through the chatbot.
Chatbot


